2014
CookieSwap is an extension that allows you to quickly change cookies using browser. What is called cookies you can read here
You may ask: Why change cookies?
If you have multiple accounts (like Facebook), then CookieSwap makes it easy to switch between different accounts.
Remember that many sites do not allow you to manage multiple accounts, but if the same PC 
uses a few people, then you need to change cookies!!! Otherwise you may be banned!
The cookies in all tabs and all browser windows are replaced at the same time when you are pumping profiles with CookieSwap. It means that your login to sites like Facebook will change in all the tabs at once. It's really cool. For example, five users working alternately in one browser. Cookies allow instantly switch between all users in one click. All your passwords and settings to your favorite sites instantly be applied and you will not have to re-enter your username and password or make other settings.
CookieSwap is useful for tasks such as:
  1. Changing your cookies to web sites (such as Facebook, Yahoo, Hotmail, etc.) so you can easily look as different users. Is well, if you have multiple accounts and tired of out of and then back in to switch accounts. Is also great if two persons using the same PC and you want to toggle between accounts quickly.
  2. Some sites like Amazon and Google to treat the user differently depending on who you are. If you are a registered user search engines consider your features and preferences, your location, etc. and accordingly show different search results. Try searching of something in different profiles and you will get different results.
  3. If you develop websites, you can configure more than one cookie to look for various types of users and sharing between users to quickly and easily test site in several modes.
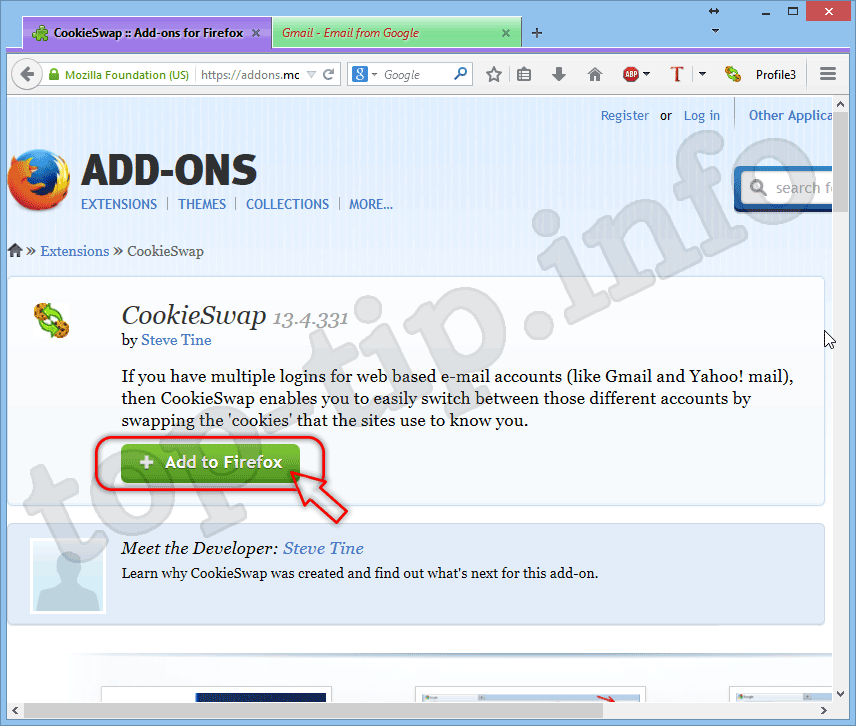
How to install a CookieSwap? 
For install a CookieSwap you must go to the site. Click "Add to Firefox":
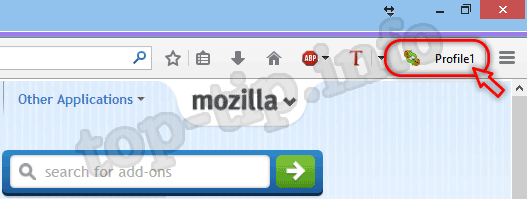
On the toolbar, you have will appear quick access to CookieSwap: 
And simply change your cookies between created profiles:
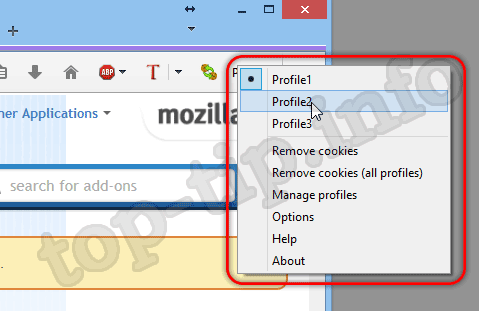
You can create as many profiles as you need. Have a nice use! 
no image
Retrieve Deleted Facebook Messages,Photos and Videos Follow the Below simple steps to Know how you can get back and have access to your deleted messages, photos,Videos and all other data of your facebook profile.
Step 1:First of all,You will have to Click hereto open FacebookGeneral account Settings. 
Step 2:Once you open your general settings, you will seeDownload a Copy of your Facebook Data,So click on it to. 
Step 3:On the Next page you will see aDownload ArchiveButton, Click on it and you will be prompt to enter your Password to Continue, This is a Security Step by Facebook. 
Step 4:After entering your Facebook Password, Click on Submit, On the next screen you will be shown that the download link for your data will be sent to your email id which you used to create your facebook account. 
Step 5:Wait for Few Minutes, check your mail. You will see a mail from facebook in your Inbox with Downloading link ready for you to download all your data. 
Step 6:Now After downloading the file. Unzip it and open the folder where you will find your messages, photos, vidoes. Pokes, Friend list etc. The Files will be in .html format so you will have to double click on the file and select your Favourite Browser to open the file, the File will open up in your browser where you will have access to all your data.. I Hope this guide will help someone or other who didn’t already know that you can actually Retrieve Deleted Facebook Messages,Photos and Videos. Don’t forget to share it with your friends if you like it and you may even Subscribe for New post, to get directly in your mail inbox.
no image
Change Facebook Hacking Theme In Google Chrome Easy Steps
  Facebook is a social networking site which enables people to connect with friends and people around. That's how Facebook is usually introduced. However, Facebook is beyond the need of being introduced as almost everyone is on it.
                  Despite its popularity, Facebook has one flaw; the default blue theme is really boring. Some even consider it an annoyance while visiting Facebook. As Facebook does not allow users to change its theme like MySpace used to, users are left with no other option but to bear the theme Facebook wants them to use. However, it is relatively easy to change the Facebooktheme to a stylish one using an addon and custom themes which are available free of cost on the internet. An example of the final outcome would be something like in the image. This is the Ferrari theme. 
                     More themes are available for you to choose. Requirement: The basic requirement for this to work is to have Mozilla Firefox or Google Chrome as your browser. Steps to achieve this: If you use Google Chrome, click here. Mozilla Firefox users should carry out the following steps to successfully change Facebook theme. 
1.Open Mozilla Firefox and install 'Stylish' addon. 
2.Follow the basic steps to install the addon.
3.Restart Firefox after successfully installing the Stylish addon. 
4.Login to your Facebook Account and click on the small 'S' button in your Firefox status bar. 
5.Click on "Find Styles for this Site" to open a new tab with free themes to use for Facebook. 
6.Click on any theme and a preview will be shown. 
7.If everything is fine in the previewed theme, click on "Install with Stylish" button at the top right corner of the page. 
8.A dialog box will open. 
9.Click on Install in the dialog box. 
Steps for Google Chrome 
1.Install Stylish for Chrome from the Chrome Web Store. 2.Navigate to Facebook.com and click on the S button. 3.Click on "Find Styles for this Site" to open a new tab with free themes to use for Facebook. 4.Click on any theme and a preview will be shown. 5.If everything is fine in the previewed theme, click on "Install with Stylish" button at the top right corner of the page. Now whenever you open Facebook, it will show the theme that you have installed with Stylish instead of the boring old blue theme.
no image
Step i) Go To https://mass-add.com register here OR login with Facebook (I recommend to login with Facebook because it's easy ;) ) 
Step ii) Now Go to https://mass-add.com/emai l and complete the first step as you want. 
Step iii) Now move to next step. Click On Generate button.
Step iv) Move to 3rd Step and copy the list of Emails Generated. 
Step v) In the 4th Step Click on"Invite Friends"a new tab will be opened 
Step vi) Paste the list here you have copied. In the next box write any message you want to send the people you are inviting. Then Click"Invite Friends" Time to time you will get friends requests and messages ignore them and you will get followers ;) You Are Done ;)
no image
How to HaCk a FaceBook AcCOunt
With Wireshark (Easy Method)...
Step#1
Download The "WireShark" And Then install It
On Your System...
Download "WireShark" by given link...
adf .ly/qHzQb (remove space)
Step#2
Next Open The WireShark And Then Click On
Interface,..
Step#3
Now Choose A Network Then Continue The
Sniffing For Around Like 10 minutes.
Step#5
After A Maximum 10 minute Stop The Sniffing
By Going To A Capture Menu Like This.
Step#6
Its Important Step Now Filter To http.cookie
contains “datr” Like This. Then Filter The All
Search For http cookies With A Name Of
"datr" And There Is Facebook
Authentication’s Cookie Like This ,..
Step#7
Now Click On It And Then GoTo The Copy >
Bytes > Printable Text Only Like This . : -
Step #8
Now The Next You Have Must 3 Things..
Mozilla Firefox (Download the latest version) by given link..
Grease Monkey Download by given link..
adf .ly/qHzXf (remove space)
Cookie injector Download by given link..
adf .ly/qHzcY (remove space)
Then Open Facebook.com In Firefox
Make Sure You Are Not Login
.
Step #9
Press The button "Alt
+C" To Bring Up A Cookie Injector And Then
Simply Paste In A Cookie Value Into It.
Cookie injector Like this.
Step #10
Now Refresh Your Page So Then Finally You
Enter The Victim Account .
Enjoy 
Note : This Method
Will Never Work If The Victim Is In
"https, Securre Browseing"
Thanks For Reading This Tutorial,
Thanks and enjoy....


new photo tag verification trick 100 % working shared by Rana Mehar Ali.!! . photo tag verification trick 100 % working Steps :- 1. go to your phone or PC proxy setting for PC Google crome go to tool ----advance----network --- change proxy and change Proxy- 157.7.152.61 Port: 3128 2.After This go to Facebook 3Login with your Facebook block account 4.you will no seen any photo verification just you enter your number enjoy